Setting up a Tank
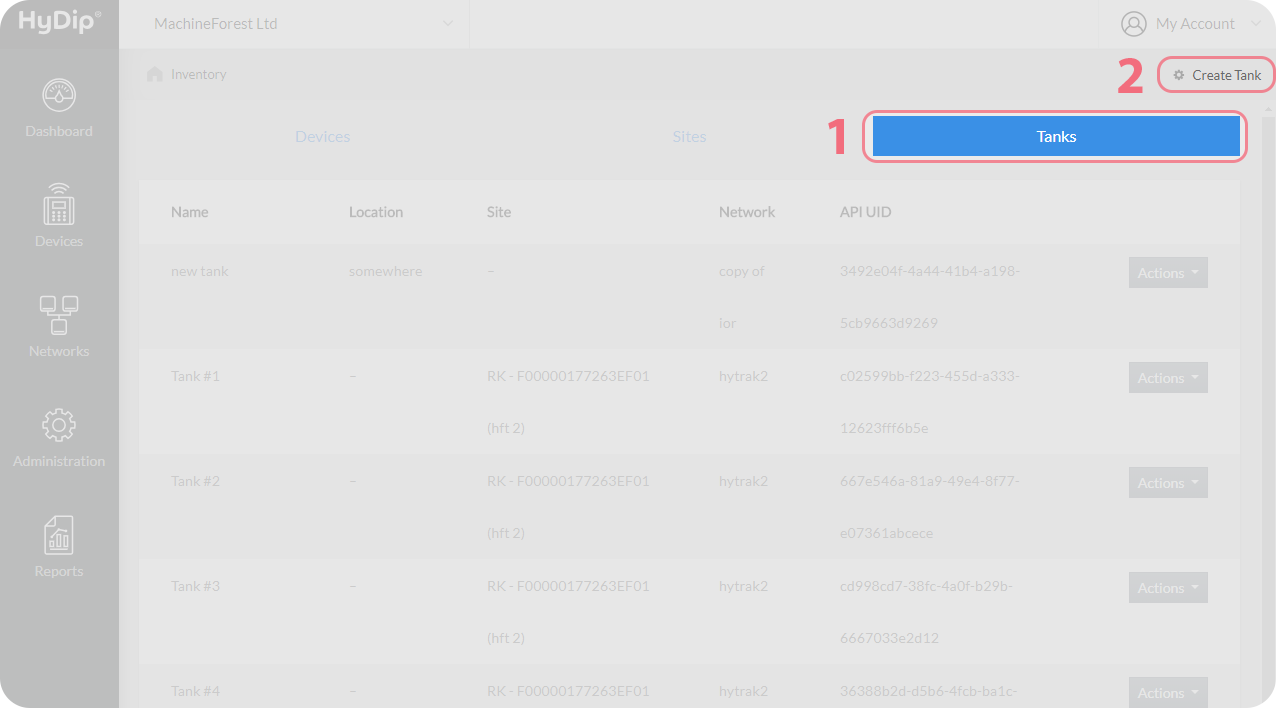
Navigate to Administration > Inventory.
Switch to Tanks tab as indicated below and click on Create Tank in top right corner.
On the next page fill out the form with values for the Tank. For example:
Field | Value | Explanation |
|---|---|---|
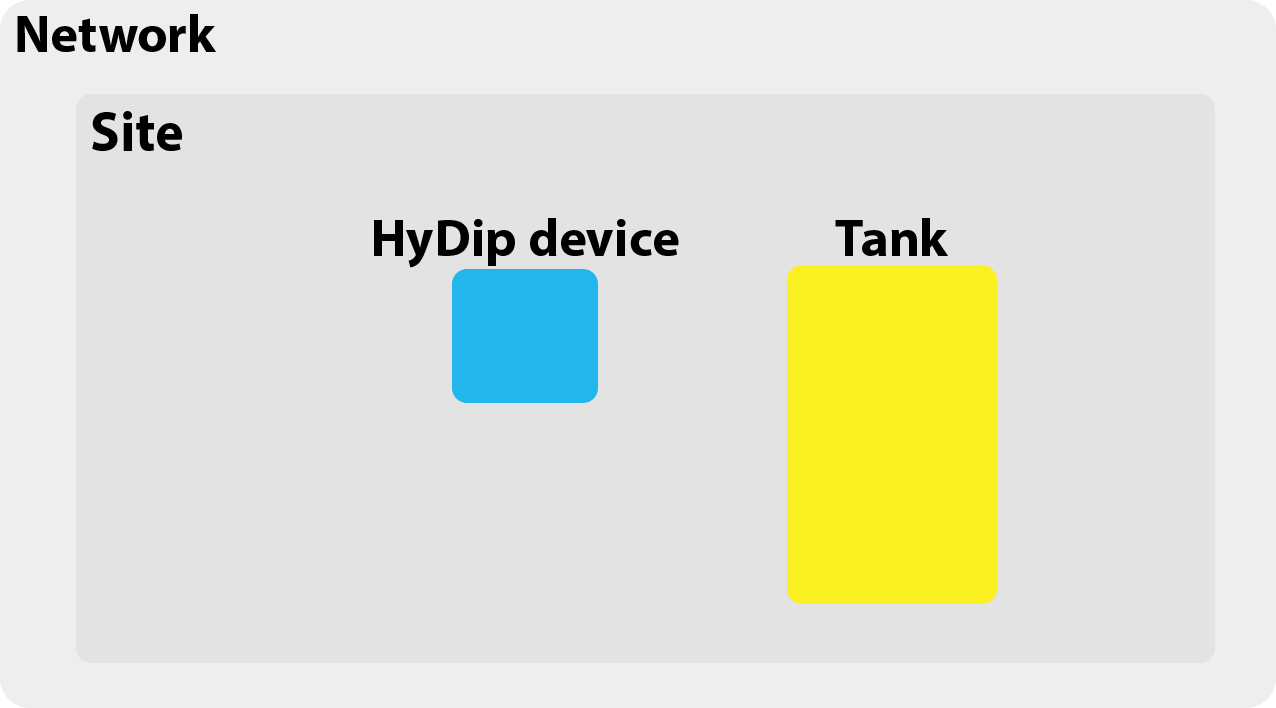
Network | Example network | Specifies which Network the Tank will belong to. |
Name | Example tank | Specifies the name of the Tank. |
Asset Tag | DP01 | Specifies an external identifier that can be used by the accounting department for example. |
Location | Queensland | Specifies where the Tank is located. |
Asset Tag and Location are just informational fields to be used as additional properties of the Tank.
Press Save which will create the Tank and load to Inventory page when successful. From there find the Tank that was just created and click on the Actions drop down menu beside it. Select Attach to a Site from the menu.
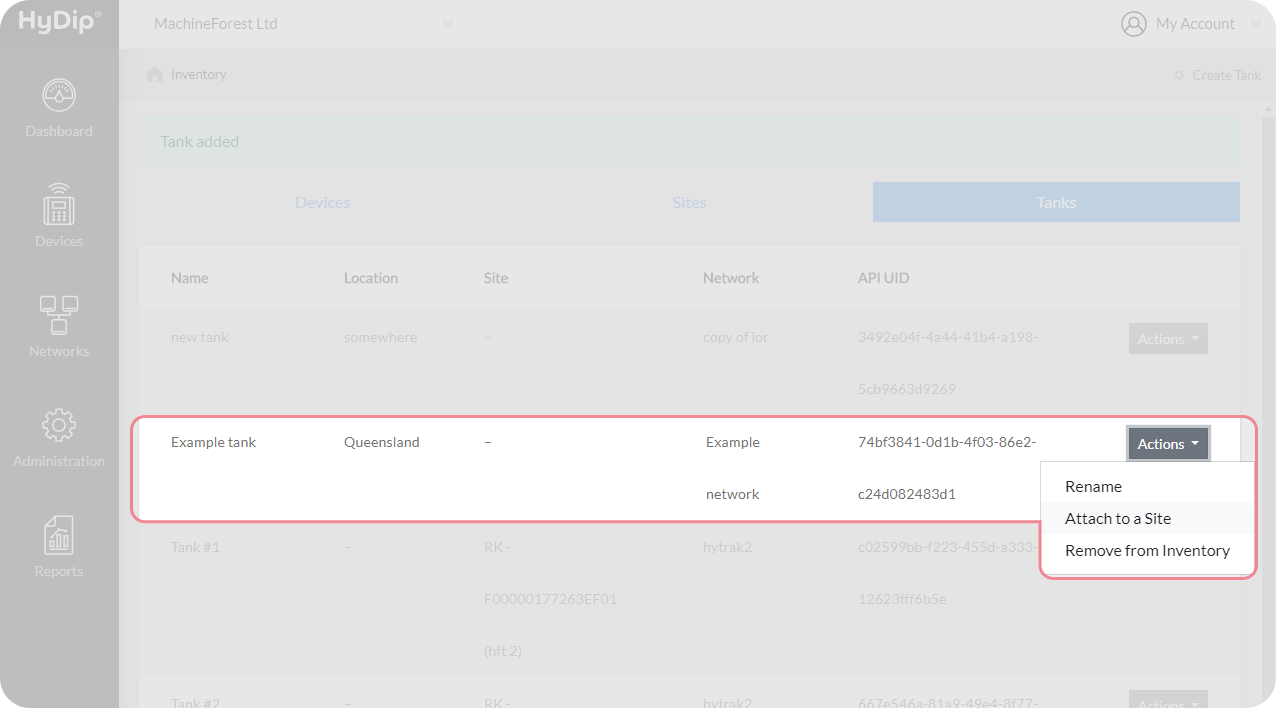
In the drop down menu find the Site that the Tank is to be attached to. Select it and press Save. This adds the Tank to the Site as shown below.
Updated 10 months ago